
Content is locked while permissions are being edited.
Assign in table view
To assign permissions, follow the steps below.
-
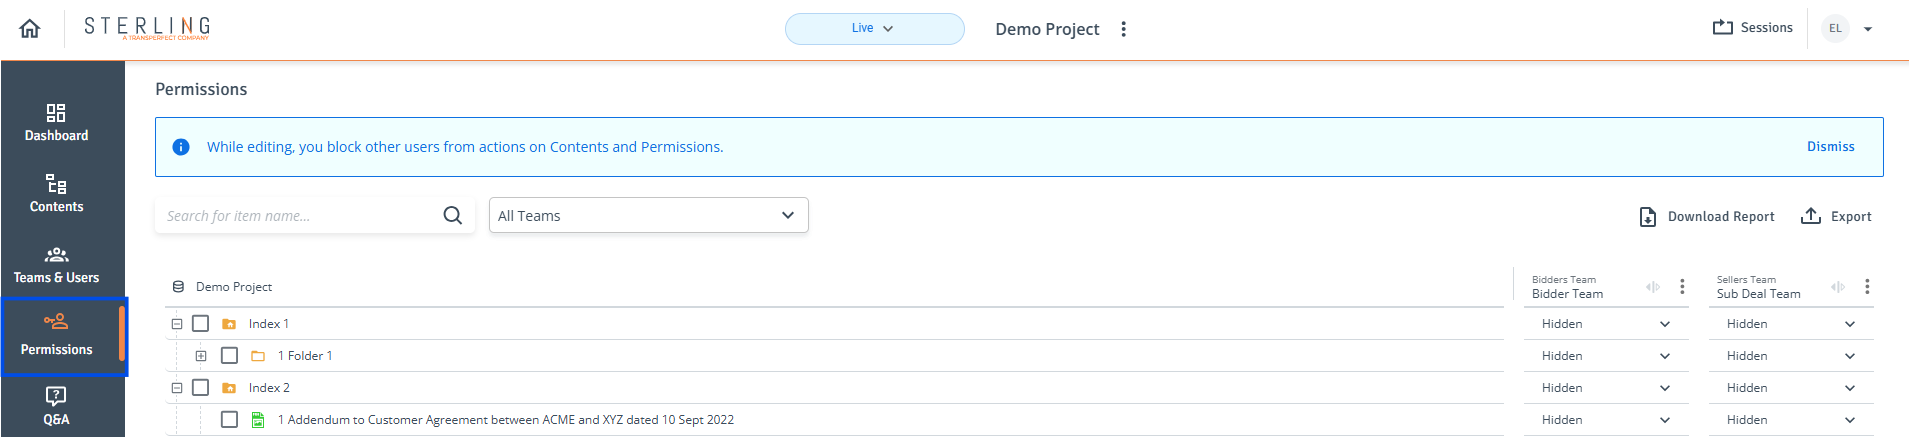
Permissions Page: Navigate to the ‘Permissions’ page from the left side panel.
-
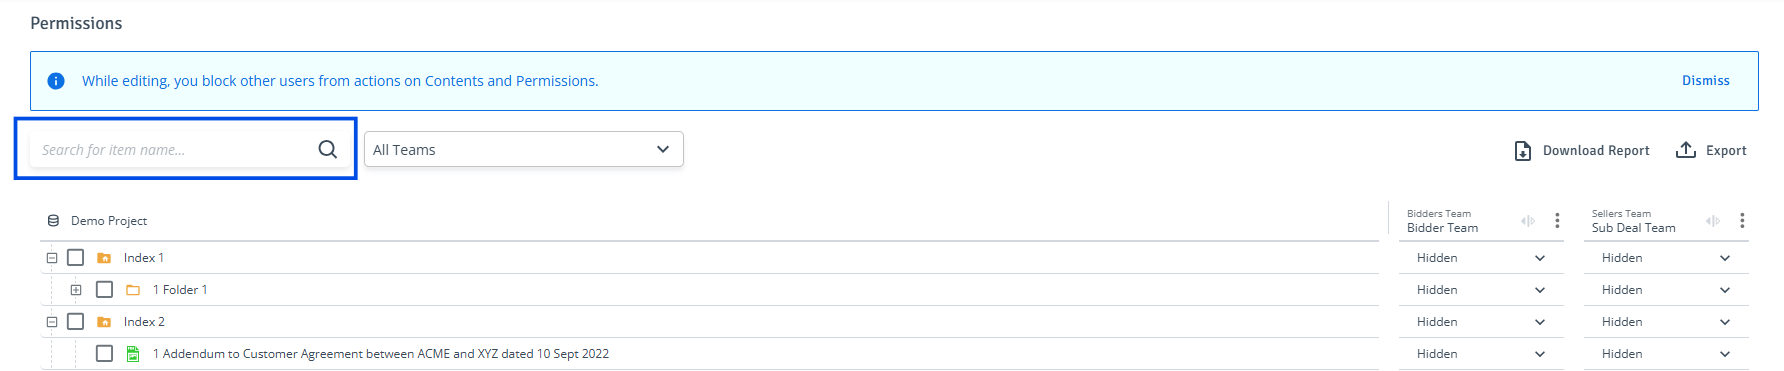
Locate Index Items: In the left column, find the index items you want to set permissions for.
Use the search box at the top left to find specific index items. The search requires a minimum of 3 characters.
-
Select Multiple Items: Use the checkboxes to select multiple items. A counter showing the total number of selected items and a permissions dropdown appear on the left above the table. After selecting a permission from the dropdown, it is applied to all teams for the selected items.
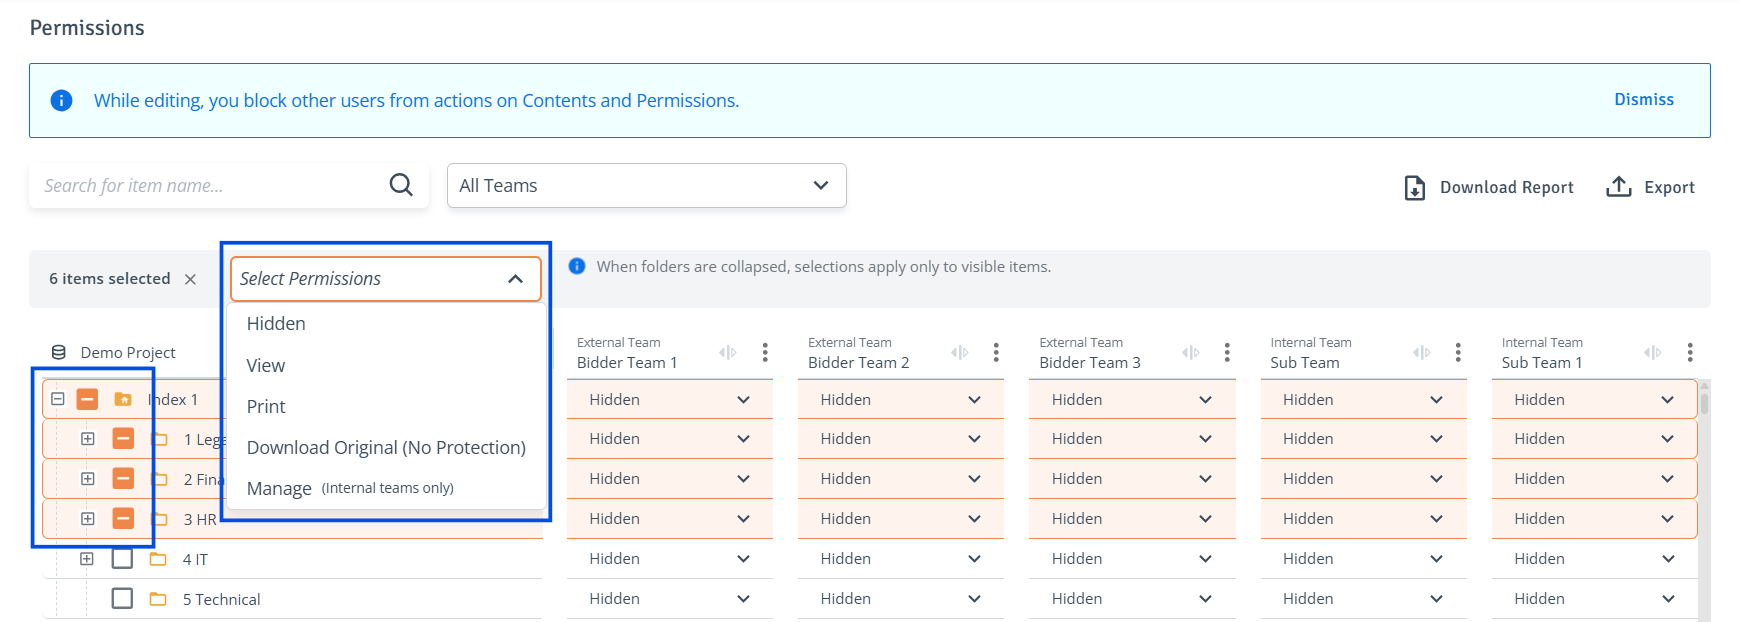
When folders are collapsed, selections apply only to visible items.
-
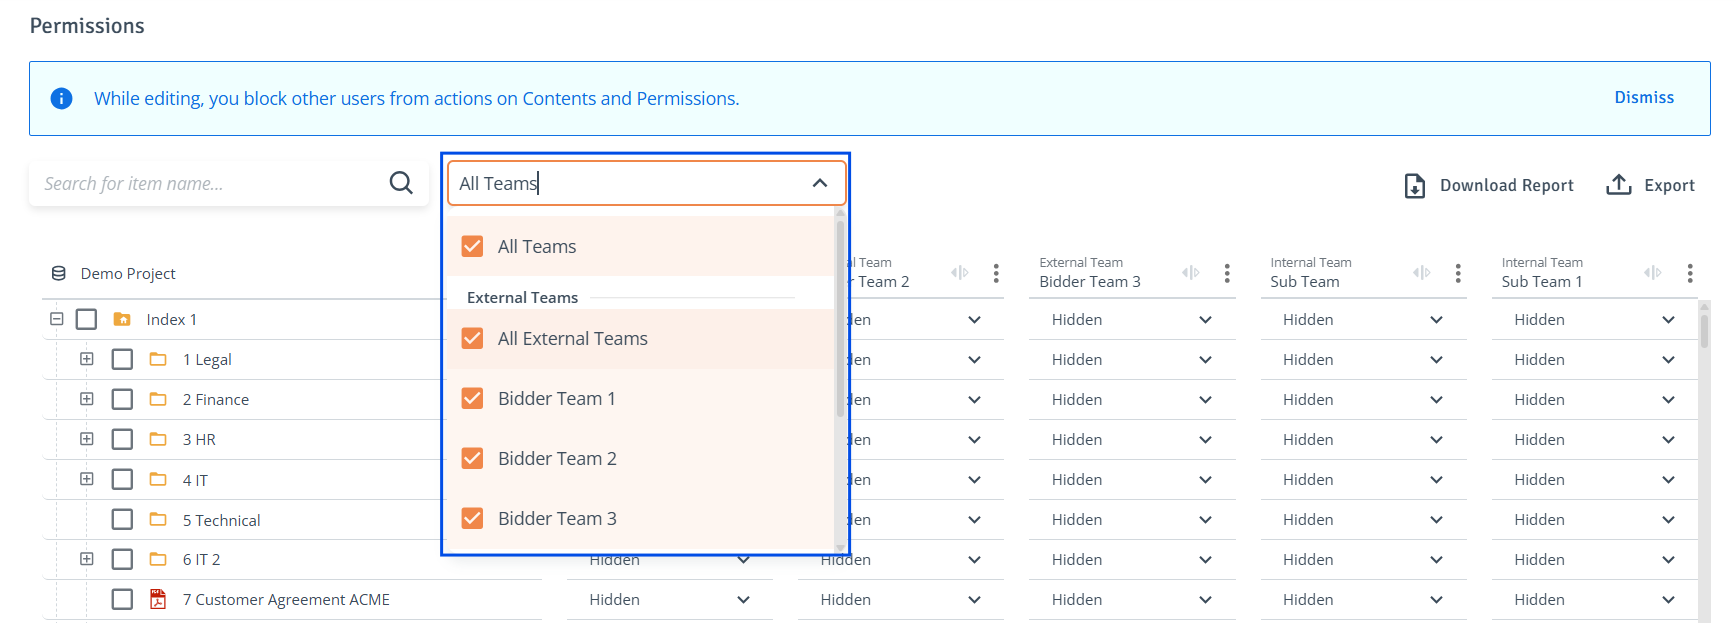
Locate Team: Use the filtering option at the top of the table to select a specific team. After making the selection, click anywhere on the page to apply the filter. The selected teams will be displayed in the columns on the right side of the table.
-
Select Permissions:
-
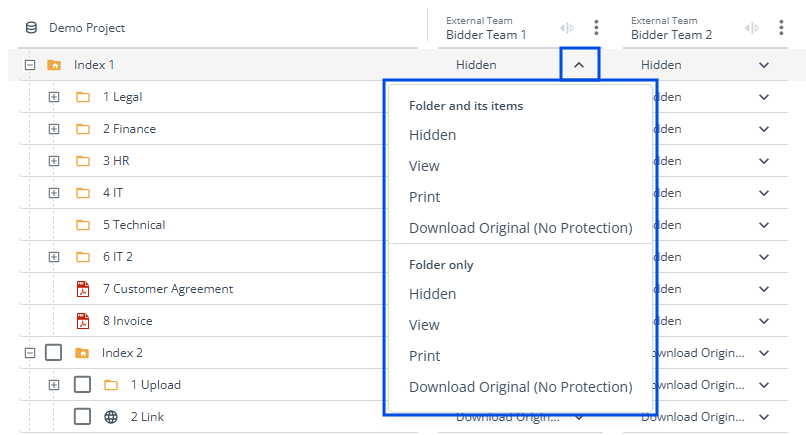
In the team column, click on the permission type dropdown to see all available permission options ('Hide', ‘View’, ‘Print’, and ‘Download Original (No Protection)' are available to all teams, while Sub Teams also have the added ‘Manage’ option.)
-
Select the permission from the dropdown for either ‘Folder and its items’ (parent and all subitems) or ‘Folder only’ (parent).
-
-
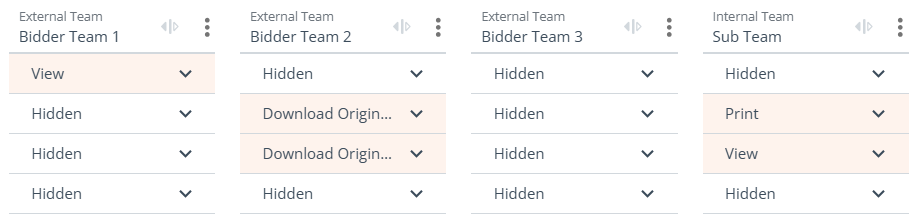
Review Changes: Changes will be highlighted to indicate edited permissions for that item.
-
Permissions Actions: After permission changes are completed, select an action from the available options:
-
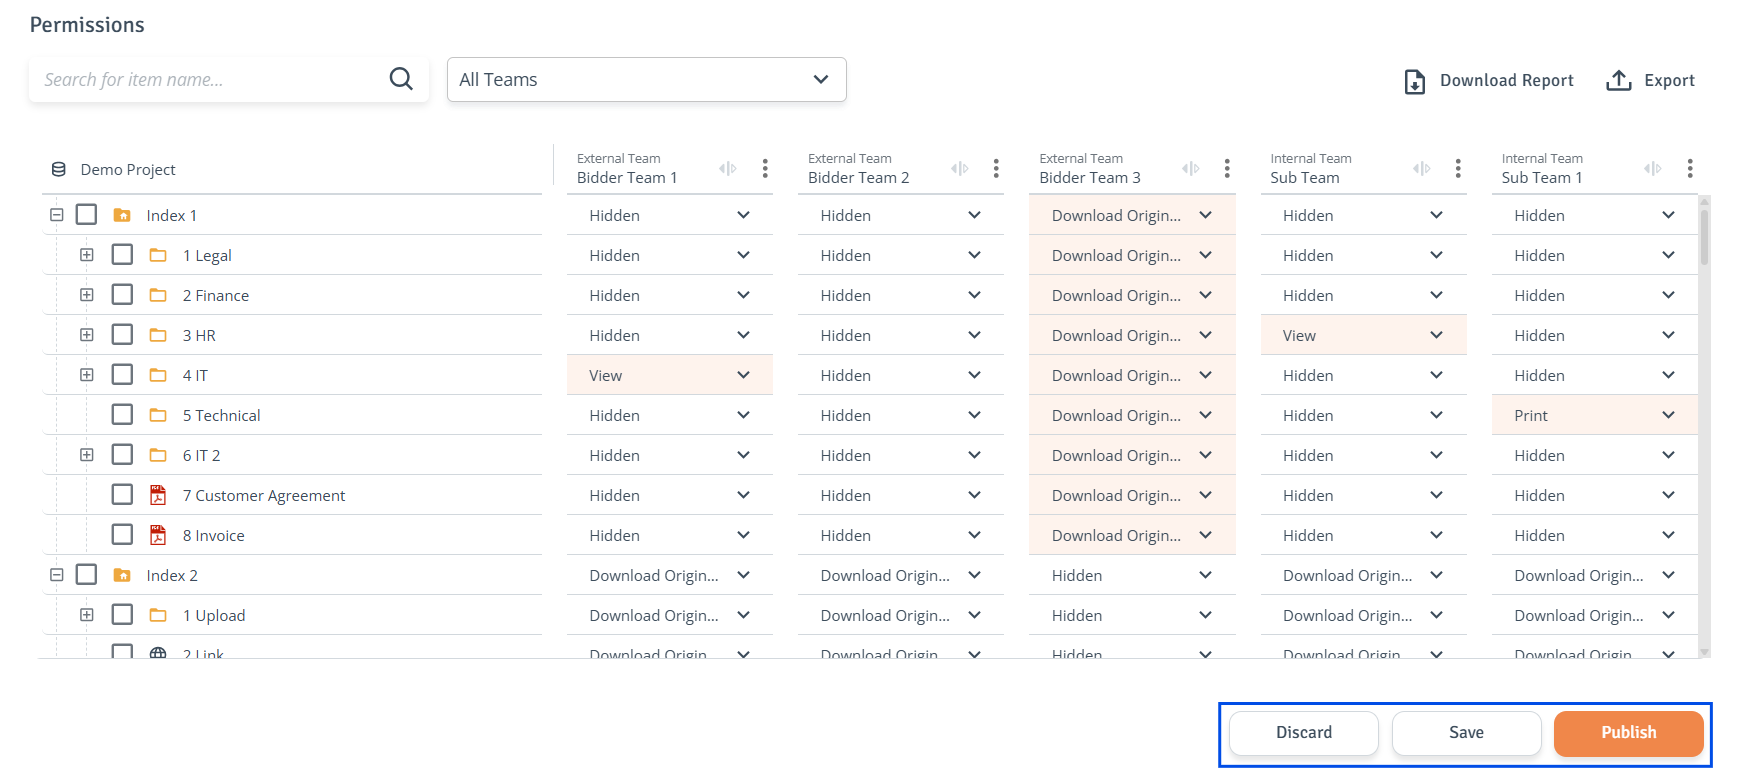
Publish: To publish all the changes, click ‘Publish’ at the bottom right of the table.
-
Save: To save unpublished changes, click ‘Save' at the bottom right of the table.
-
Discard: To revert all changes, click ‘Discard’ at the bottom right of the table. All saved and unsaved changes will be deleted.
-
-
Unlock or Take Over Permissions: When a user begins editing permissions, the Content and Permissions pages are locked to other users for editing.

-
Another user can decide to:
-
Take Over: From the yellow banner at the top of the page, select ‘Take Over'. Changes made by the other user will be saved, their editing access will be removed, and the user taking over can continue editing.
-
Unlock Permissions: From the yellow banner at the top of the page, select ‘Unlock'. Changes made by the other user will be discarded, their editing access will be removed, and the user unlocking can continue editing.

-
Assign via Excel file
Export Permissions allows editing permissions in an Excel file, providing a convenient option for offline work.
To export permissions, follow the steps below.
-
Permissions Page: Navigate to the ‘Permissions’ page from the left side panel.
-
Export Permissions: Select ‘Export’ at the right side of the table. The download package will be prepared in the ‘Downloads' tab. Permissions will be locked until the Import is complete.

Go to the 'Downloads' tab to locate the download package. When the status changes to 'Ready to Download', click 'Download' to retrieve the file.

-
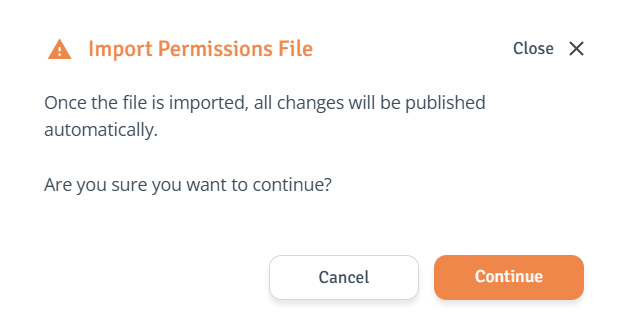
Import & Publish Permissions: Edit the permissions in the downloaded Excel file and save it. On the ‘Permissions’ page, select 'Import' and choose the saved file with applied changes.
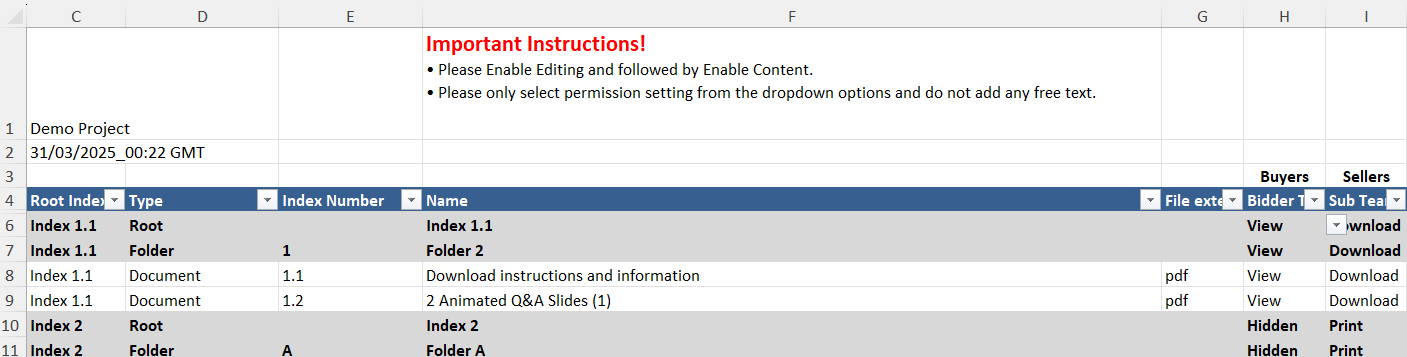

Once the file is imported, changes will be published automatically.
-
Changes Applied: The permissions changes are now applied in the Project.